|
aremgy
|
 |
« on: October 20, 2011, 05:11:27 pm » |
|
D E F O C U S

This tut was written on October 20, 2011.
It is written using PSPX; I'm sure the same effects are available in other versions.
SUPPLIES
A tube.
I'm using the work of Elias Chatzoudis.
This tube was purchased from MPT; this artist is currently represented by PTE.
The following filters:
MuRa's Meister - Copies
VanDerLee - Unplugged X - Defocus
FM Tile Tools - Blend Emboss
Texturizer - Sandstone
Greg's Factory Output, Vol. II - Pool Shadow
Font of choice (I'm using "Delikat")
Let's begin!
Pick a color for your background.
Open a new image, 800 wide x 800 high.
Floodfill with your color.
Add a new layer.
Selection Tool - Custom Selection using the following setting:

Floodfill the selection with white.
Selections - Select None.
MuRa's Meister - Copies using the following setting:
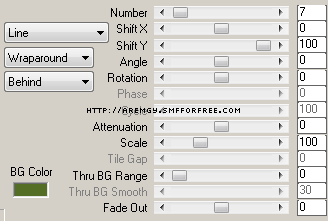
Duplicate this layer; hide the top layer.
Working on the middle layer, VanDerLee - Unplugged X - Defocus using the following setting:

Change the layer setting of this layer to Overlay.
Unhide the top layer.
Change the layer setting of this layer to Soft Light; change the opacity to 70.
Layers - Merge - Merge Visible.
FM Tile Tools - Blend Emboss using the default setting.
Effects - Edge Effects - Enhance.
Add a new layer.
Repeat the selection you used earlier; fill the selection with black.
Selections - Select None.
Repeat the MuRa's you used earlier.
Effects - Geometric Effects - Skew using Vertical, Repeat, Angle = 45.
Effects - Distortion Effects - Wave using the following setting:
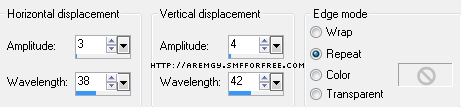
Repeat the Defocus effect you used earlier.
Change the layer setting of this layer to Soft Light; change the opacity to 65.
Effects - 3D Effects - Drop Shadow using 1, 1, 100, 1, Black.
Image - Rotate Right.
Selection Tool - Custom Selection using the following setting:
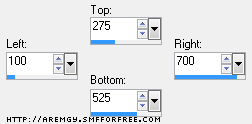
Image - Crop to Selection.
Add your tube, and a blurry drop shadow (I used Eye Candy 5: Impact - Perspective Shadow using the Blurry preset.)
Add a 2px Selection border with the same color you used earlier.
Add your name and all necessary copyright information.
For the avatar:
Duplicate your tag (Shift + D.)
Remove the layer with the tube.
Crop to 150x150.
Add a new layer.
Add a 2px Selection border, using your dark color.
Add your name (or initial) and all necessary copyright information.
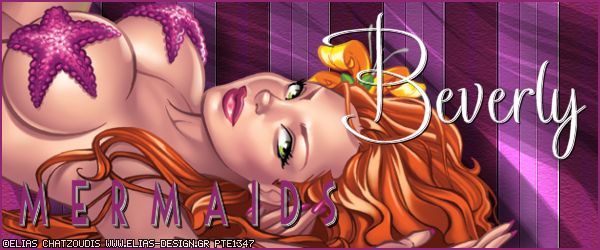
Here is another example, using the work of Elias Chatzoudis:

|
|
|
|
|
|


|
Sezy
Newbie

Posts: 4

|
|
« Reply #1 on: October 26, 2011, 06:25:28 am » |
|
Oh wow! Thank you so much Rich! This is just stunning  |
|
|
|
|
|
|
|
|
|

