|
aremgy
|
 |
« on: January 28, 2012, 05:18:10 pm » |
|
S H I R L E Y
This tut was written on January 28, 2012.
It is written using PSPX; I'm sure the same effects are available in other versions.
SUPPLIES
A tube and a closeup; with some measurement, you may use a tube without a closeup or even two images.
I'm using the work of Edward Reed, formerly signed with MPT.
A license and tubes for this artist may be purchased from PTE.
No outside filters!
Font of choice.
The oriental font I used is "Japanese"; the script font is "A&S Snapper Script").
You will also need a selection created by Shirley from ShirleysWebworks.
She has graciously allowed me to link to her tut, "New Moon" here.
You will see, at the top of her beautiful tut, the link to download the zipped file.
Unzip the selection to your My Documents - My PSP Files - Selections folder.
Detailed instructions to use the selection will follow.
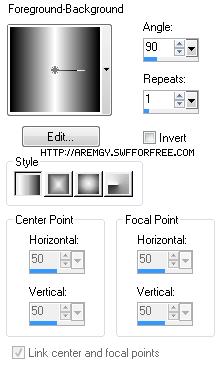
Set your foreground to black, set your background to white.
Make a background linear gradient as shown below; you want the white stripe in the middle:
This tut shows how to make a forum set tag/avatar using no scrapkits and no templates.
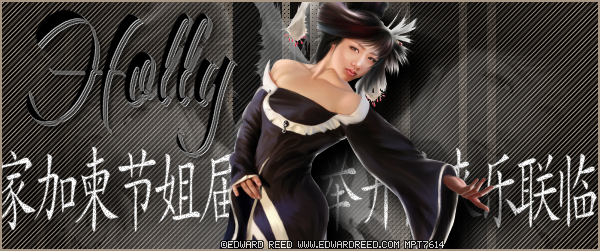
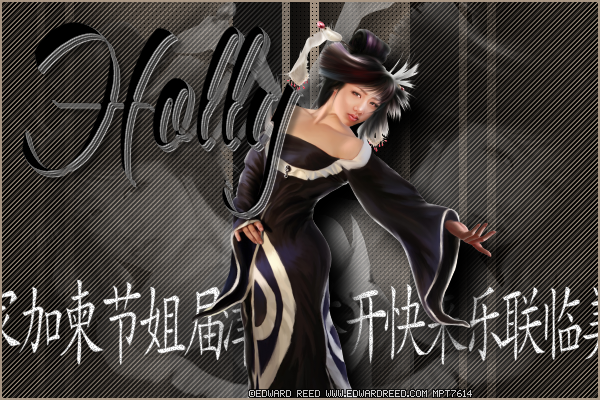
We will make the larger tag first, then the avatar and forum set tag.
First, we will make a mask that you can save to your computer.
Open a new image, 200 pixels square.
Floodill the square with the gradient you made earlier.
That's it - the mask is done.
Save to your Masks folder; I saved it as "13", so that it will be at the top of the Mask dropdown menu.
(This means it's easy to find...lol).
We will use this mask later in the tutorial.
Change your background color to a color from your tube.
Next, we will work with your tubes; we need to resize them.
You will need two copies of your closeup and a single copy of your regular tube.
Remember, Shift + D makes copies quick and easy.
Working with the regular tube first, Image - Resize to 450 pixels high.
Adjust - Sharpness - Sharpen.
On one of the copies of the closeup, Image - Resize to 400 pixels high.
Adjust - Sharpness - Sharpen.
Adjust - Hue & Saturation - Colorize; both boxes set to 0.
You should not have to resize the other copy of the closeup tube, unless you would normally resize it to use it.
You do, however, want to repeat the Colorize on it.
You want some noticeable difference in the size of the closeup tubes.
Set all of the tubes aside for a bit.
Open a new image, 700 pixels wide x 500 pixels high.
Floodfill with black.
Effects - Texture Effects - Weave using 1, 3, 1, Fill Gaps box checked; set both boxes to your chosen color.
Repeat the Weave effects but change the top number from 1 to 2.
Adjust - Blur - Motion Blur using Angle = 45, Strength = 100.
Image - Flip, then Image - Mirror.
Repeat the same Motion Blur.
Edge - Effects - Enhance.
Add a new layer, floodfill with black.
Repeat the steps above, except change both boxes in the Weave effect to white.
Hide this layer for now.
Add a new layer, floodfill it with your chosen color.
Repeat the steps above only change the colors in the Weave box to black.
Do NOT enhance.
Hide this layer for now.
Selection Tool - Custom Selection with the following setting:
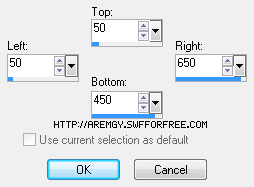
Image - Crop to Selection.
Add a new layer; floodfill with your chosen color.
Repeat the Weave effect; the Gap size should be 1, both boxes set to black.
Add a new layer.
Selections - Load/Save Selection - Load Selection From Disk.
Select the SWWNewMoonSel from the Selection window in the top left.
Only the boxes before Replace Selection and Source luminance should be checked.
Click OK.
Floodfill the selection with black.
Selections - Select None.
Duplicate the selection layer; Image - Flip, then Image - Mirror.
Layers - Merge - Merge Down.
Effects - Image Effects - Seamless Tiling using the following setting:
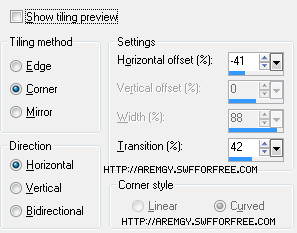
Repeat the Seamless Tiling effect.
Add all three of your tubes as new layers; add the color tube last.
Use your Move tool to move the tubes into position.
See my samples for a suggested arrangement.
When you are ready, highlight the color tube layer.
Effects - 3D Effects - Drop Shadow using 20, 20, 100, 20, black.
Hide this layer for now.
Highlight the LEFT closeup tube layer.
Effects - 3D Effects - Drop Shadow using 0, -20, 100, 20, black.
Change the opacity of this layer to 55.
Highlight the RIGHT closeup tube layer.
Repeat the Drop Shadow, but change the Horizontal number from -20 to 20.
Change the opacity of this layer to 65.
Highlight and unhide the hidden black & white layer you made at the beginning of the tutorial.
Layers - Arrange - Bring to Top.
Layers - Arrange - Move Down; this puts it directly below the color tube layer.
Effects - Image Effects - Offset using the following setting:
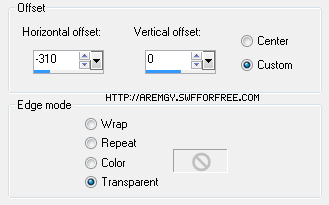
Change the opacity of this layer to 35.
Let's do a layer check to make sure we're on the same page.
Layers from the bottom:
The color Motion Blur layer; hide it now if it isn't hidden.
The color Weave layer with the black dots.
The seamless tiling layer.
Both closeup tube layers, colorized.
The black & white Motion Blur layer.
The color tube layer; hide it now if it isn't hidden.
IF YOU ARE MAKING A FORUM SET/AVATAR, DUPLICATE NOW 2x.
Make sure the other layers are unhidden, then Layers - Merge - Merge Visible.
Layers - Load/Save Mask - Load Mask From Disk.
Select the mask you saved earlier from the Mask window in the upper left corner.
You want to check the following boxes: Fit to Canvas, Source luminance, and Hide All Mask.
Click OK, then Layers - Merge - Merge Group.
Unhide all layers; highlight the color tube layer.
Add a new layer; add a 2px selection border using your chosen color.
Add your name, any word art, and all necessary copyright information.
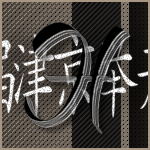
For the example above, I typed out random letters using the "Japanese" font; then I added a bit of Noise.
For the forum set, move to one of the copies you duplicated earlier.
Selection Tool - Custom Selection using the following setting:
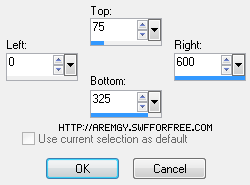
Use your Move tool to move your tubes into position; you'll have to hide the black & white Motion Blur layer to do this.
When you are ready, unhide the hidden Motion Blur layer.
Make sure the color tube and the color Motion Blur layer are hidden, then Layers - Merge - Merge Visible.
Repeat the mask and Merge Group.
Unhide all layers and add a new layer; add your 2px selection border using your chosen color.
Add your name, any word art, and all necessary copyright information.
For the avatar, work with the other duplicated copy of your tag.
Delete all tube layers.
Hide the color Motion Blur layer.
Layers - Merge - Merge Visible.
Repeat the mask and Merge Group.
Unhide the color Motion Blur layer.
Crop to 150x150.
Add a new layer; add your 2px selection border.
Add your name, any word art and all necessary copyright information.
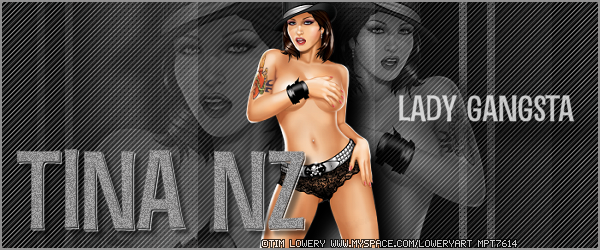
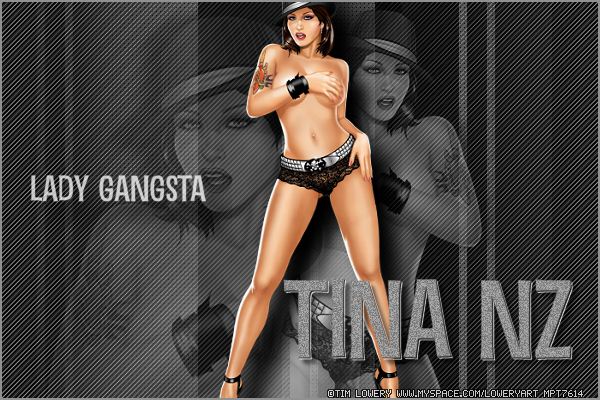
Here is another example, using the work of Tim Lowery:

|

