ToilGirl_Beverly
Administrator
Newbie

Posts: 28
Make someone's day - make them a forum set!

|
 |
« on: May 04, 2011, 11:26:59 pm » |
|
M A S K E D F R A M E

This tut was written on May 5, 2011.
It is written using PSPX2; I'm sure the same effects are available in other versions.
Any similarity to other tuts is not intentional.
SUPPLIES
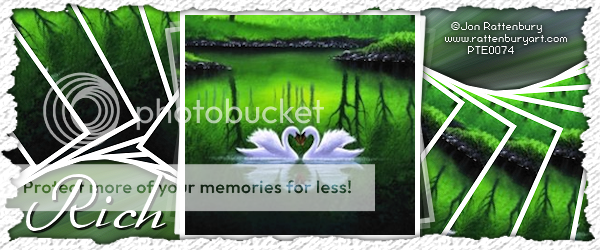
An Image or a tube with a background added.
I'm using the work of Jon Rattenbury.
You need to purchase a license to use this work from PSP TUBES EMPORIUM.
The following filters:
MuRa's Meister - Copies
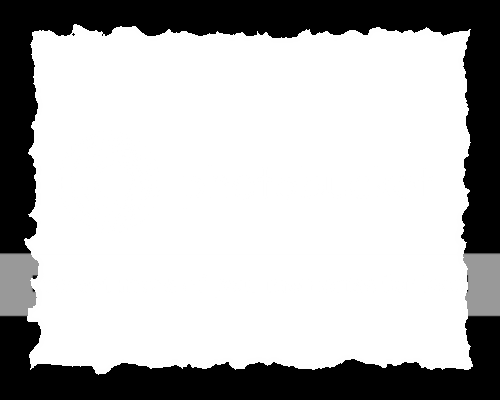
I used the Becky Mask 001 - she has given permission for tut writers to include her
masks with the tuts they write. It is a png image here, so right click and save to your desktop.
Now open My PSP file and find the Mask's folder, then drag the mask from your desktop and
place into your folder.
The second set I used:
Alien Skin: Textures
Font of choice (I'm using "Arabella")
Let's begin!
Take your image to psp, then copy it (Shift and D) - then close the original.
Resize it to 250 pixels in height, I have made a preset in Crop 250 X 250.
Next go to Layer/Promote Background Layer and then I resized the image again
by 90 %.
Image/Add Borders - my first one I did borders of 5 and my second at 3 - your choice.
Open an 800 X 800 image
I copied this and pasted it as A New Layer.
Leave the image on your PSP - we will use it later.
Go to your 800 square with the image that has the borders.
Effects - MuRa's Meister - Copies - Wave(horizontal)

Adjust/Sharpen
This is your wave image we will use in the forum set.
Copy
Open a New Image - 600X250
Paste your wave to your forum set.
Now you can close the 800X800 image.
Crop - Merged Opaque
Now let's go back and get our original image we have saved.
Copy and paste as a New Layer
Duplicate
Hide the copy of our original image and the wave layer.
Place the other one below your wave.
On the Original Image at the bottom apply MuRa's Meister/Wall Paper(Shrink).
Make sure your background is covered - I had to add one to get the coverage.
Adjust/Blur/Radial Blur settings are:
Zoom
70%
Elliptical is checked
All others at 0
Effects/Edge Effects/Enhance
Your background is finished.
Now back to your Original Copy, should be your top image
in your layers - if not make it so.
Apply MuRa's Meister/Afterimage(rotate random)
Add Drop Shadow of your choice, I used 0/0/70/7 on both MuRa's Meister layers.
New Layer
Fill with the same color as your border you applied to your original image.
Layer/Load Mask from disk - (Name of Mask is BeckyMask001)
Now over in your Layers - find the mask layer and right click - go down to Merge Group.
I found it was too fat, so I resized it 110%, so that it was on the edge like a frame.
I also put a bit of texture to the mask layer as well.
Effects/Texture Effects/Texture choose one you like or use the one I picked Hatch fine.

Add Drop Shadow of your choice, I used 0/0/100/10
Add your copyrights and license if appropriate, and your name.
Save as a png.
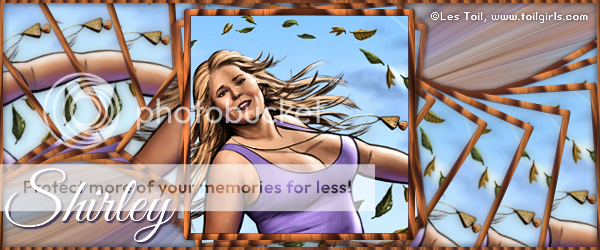
Here is another example, using the work of Les Toil TOIL GIRLS.

|
|
|
|
« Last Edit: December 13, 2011, 12:08:35 am by ToilGirl_Beverly »
|
Report Spam
 Logged
|
Thank you aremgy, for being able to post my tuts here!
(((((((Thanks to all who make me new clothes))))))) |
|
|
|


|
|
|
|

